How to do appropriate product photography for eBay listings?
The first thing people will look at when they will arrive in your store is, the PICTURES of your product. Buyers judge the product simply by its image. Poor quality images may decrease the chances of selling even though you might have the best products in the world. So the first and the most important thing to consider for your listing is product images. Today we will discuss how to do appropriate product photography and will guide you step by step with some great tips to get the best image of your product.
Some people advise to buy DSLR camera for better photography and buy some professional photography stuff like tripod and lightings but it is not necessary and not wise to invest that much of amount in it. If you already have one that is great but spending on it especially for a product photography is not a good idea. Below are some basic tools required for better photography.
- High-resolution camera
- Proper lighting room or natural sunlight area if taking outside
- Plain white normal size paper for small products or big plain white paper roll for bigger size products(easily available in market and will last forever.)
- A computer or laptop with photo editing software(not need to be a PRO version)
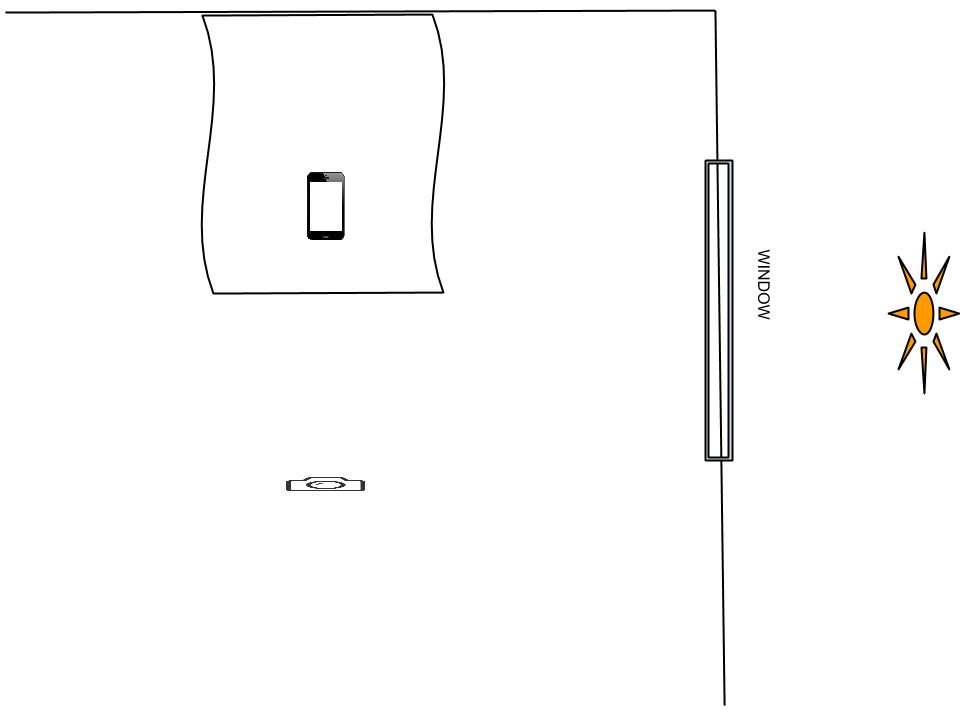
The photography also depends on the size of a product. You need to do it in a different way with different tools for bigger and smaller sizes products. But you can use the same tactics for any product. You need to do a setup like below and put your product on it in the right way.
Put your camera’s AWB settings on AUTO mode so that it captures the real color of your product. Also turn off the flash of the camera to avoid the shadow of a product. For any photography, light plays a very important role and so in this too. There should be enough natural lights in the room. Please make sure that direct sunlight should not be hitting to the set or the product. Direct sunlight is harsh for photography and makes an image look bad. The light should be pass through a glass of a window or reflective from other objects like white foam core board. Also, you should point to the product only and click it. You can try clicking several pics from various positions to get the right image.
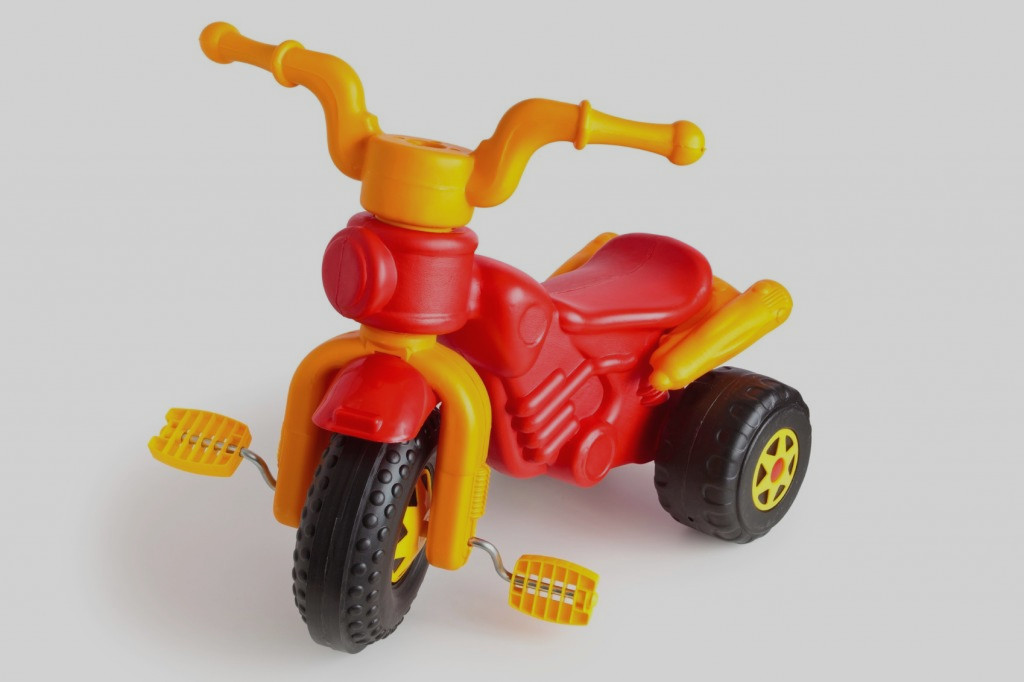
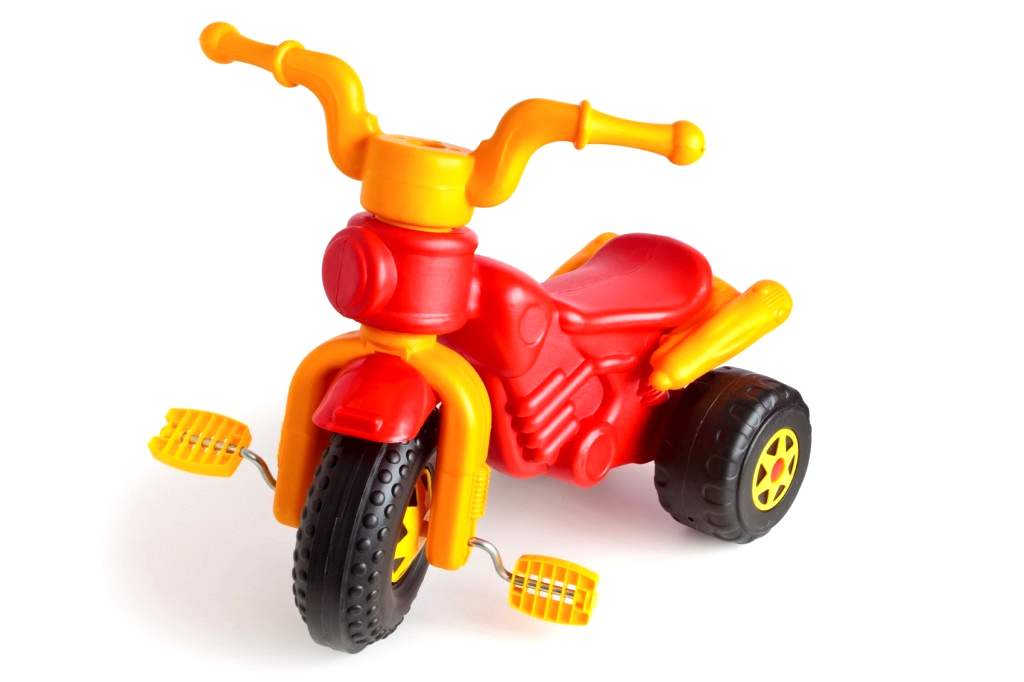
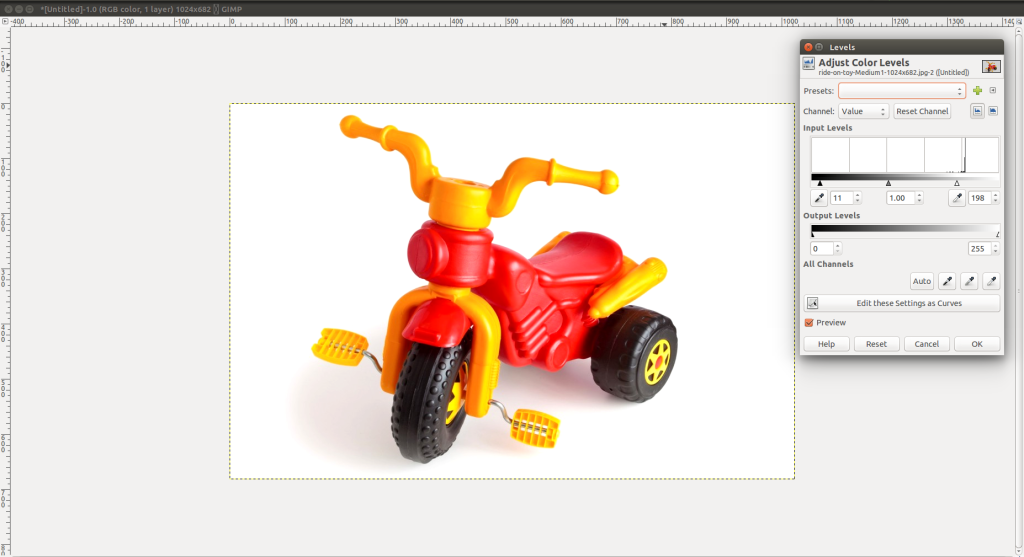
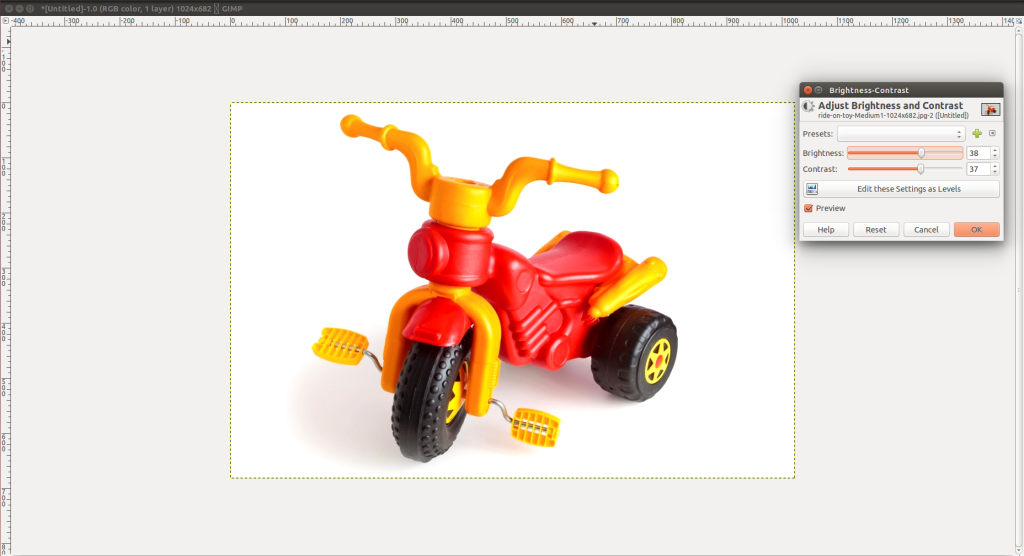
Once you get the right click, it is time to give finishing touch to the image. There are so many free tools and software available for photo editing. The best you can use GIMP image editor. It is free and having some great features. Check below steps to see how you can enhance any image with GIMP.
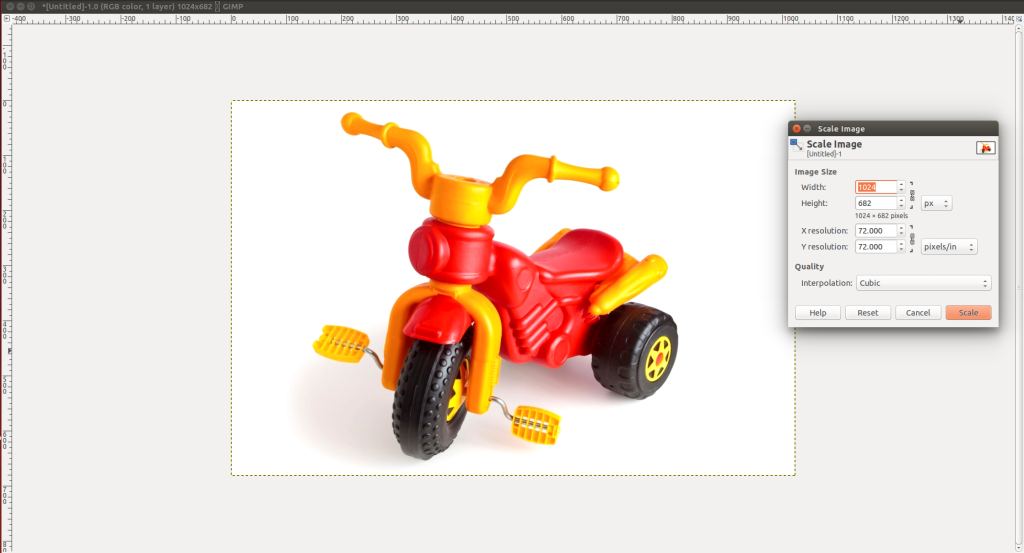
Now you have the perfect image for you to put in the listing but wait, you can not upload an image of any size. It needs to be incorrect pixel size matching with eBay’s picture quality standards. The minimum width of 500 pixels is required but you should use a picture with 1000 to 1600 pixels for a detailed view of an image. Below are the steps to save the image with your desired pixel size.
Now you can export the image in JPG format and upload in your listing.

